Industry News
 2026.10.23
 Industry News
Hair removed by a clipper cannot be put back. A single pass near the temple can take off more length than the mirror suggested, and a style copied from a photo often looks different once the blade meets real hair. For beginners, the difficulty is less about handling the tool and more about controlling how much comes off with each pass.
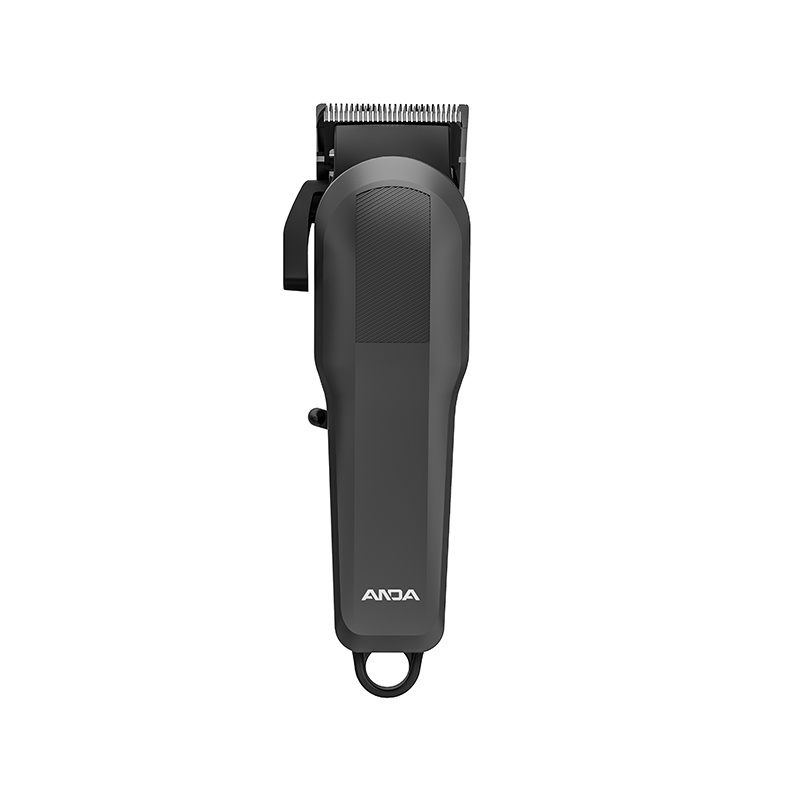
A Hair Cutting Clipper with guide combs makes that control easier, provided the length setting, cutting direction, and working order are planned in advance. Here is a step-by-step approach for trimming at home while keeping length in reserve.
A guide comb keeps the blade at a fixed distance from the scalp. A longer comb leaves more hair in place, making an initial pass a useful way to check the length. Hair can look longer in the mirror than it actually is, especially when it is dry or lifted by styling. Once the clipper moves through the hair, the change may be more noticeable than expected.
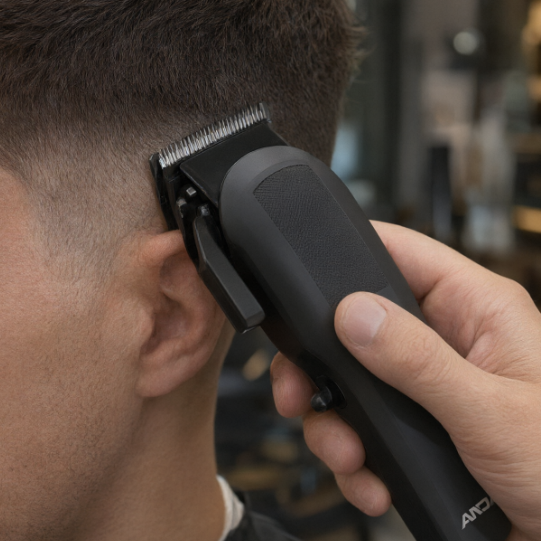
Start with a longer setting, check the result, and trim further only if needed. This is particularly important around the sides and back, where the cutting area can be difficult to see.
| Guide Comb Choice | Practical Effect |
|---|---|
| Longer comb | Leaves more length for an initial trim |
| Medium comb | Shortens sections after the initial check |
| Shorter comb | Removes more length and demands careful control |
| No comb | Allows close cutting with little protection |
Results vary with clipper design, hair texture, and cutting direction. Read the instructions for your model and confirm the comb is attached securely before switching on.
Good lighting and a clear workspace prevent many errors. Use a mirror in front and a second one to view the back. Keep a comb at hand to separate and direct strands, and lay a towel over the shoulders to catch loose hair.
Check that the clipper is clean, charged or connected as directed, and free of visible damage. Decide on the goal before starting. Maintaining an existing shape is easier to control than creating an unfamiliar style with sharp transitions.
Without a plan, it is easy to pass over one area repeatedly while skipping another. A simple haircut can be split into the sides, back, and top. Clips help hold longer hair out of the way, though they are optional for a short style.
| Section | Suggested Approach |
|---|---|
| Left and right sides | Short, overlapping passes with the same comb |
| Back of the head | Second mirror, slow and careful movement |
| Around the ears | Slow down and keep the clipper steady |
| Top | Leave the length or trim separately |
| Hairline | Adjust only after the main shape is checked |
Finish one section, inspect it, then move on. This makes differences easier to spot and reduces repeated cutting of areas that are already short enough.
Pressing hard, rushing, or changing the angle mid-pass produces uneven cutting. Hold the clipper comfortably and follow the curve of the head instead of forcing a straight line. Let the comb set the distance, and avoid pushing harder when the tool meets resistance.
Work across a small section, lift the clipper away, and check the result. If the hair is still longer than intended, repeat the pass with the same comb. This is safer than switching to a shorter comb. Repeatedly running over the same area when the result is unclear can gradually remove more hair than intended, so pause and inspect it from another angle before continuing.
Hair does not grow the same way everywhere. Moving against the growth usually removes more hair than moving with it. If unsure, make a gentle pass in the direction that feels easier to control and check the result.
The crown deserves extra care because hair may swirl or change direction in a small area. Moving quickly there can leave patches that look shorter or longer than their surroundings. Lift or direct strands with a comb, then cut with controlled movement.
One side is usually easier to reach, which tempts people to hold the clipper at different angles or make extra passes there. Use the same comb on both sides for the initial trim, and work matching areas in turn instead of finishing one side entirely. Growth density and the way hair lies can differ from side to side, so a difference seen from the front is not always a flaw. Compare from front and side views before shortening anything.
At the back, use a second mirror or ask someone to check. Keep passes short and controlled instead of dragging across the whole area. Cutting the lower back too close can create a sharp contrast with the sides, so keep the longer comb until you are confident about blending.
Treat edging as separate from the main cut. Finish the larger sections with the guide comb, inspect the edges, then decide whether small adjustments are needed. Around the ears, move slowly, do not force the blade into tight spaces, and make sure the comb does not catch the ear. A simple home haircut rarely needs a dramatic hairline change.
Move to a shorter comb only after checking the result from the longer one. If the hair already looks close to the target, stop. When one area needs more, use the shorter comb only there, not across the whole head.
| Situation | Suggested Response |
|---|---|
| Hair looks close to the desired length | Keep the current comb |
| One section remains longer | Check it, then adjust slightly |
| Sides need a shorter finish | Shorten only that area |
| Transition looks uneven | Review the shape before removing more |
| Unsure about the result | Pause and inspect from another angle |
A visible line appears when one area is cut noticeably shorter than its neighbor, often after a comb change without thought for where the lengths meet. Keep the boundary in mind, and avoid abrupt stops at the end of a pass. Easing the clipper away from the scalp near the end can soften the edge, though this takes practice and depends on the clipper design.
Do not try to erase a line by running a shorter comb over the surrounding hair. That widens the short zone and leaves less hair for correction. Find where the extra length remains and trim only that spot.
Change one thing at a time, whether comb, direction, or pressure. If the result looks uneven, find the cause before correcting it.
Brush the hair into its natural position, since it looks different once it settles. Inspect the sides, back, crown, and hairline from more than one angle, using the second mirror where needed. Compare matching sections without assuming every growth difference must be removed.
If a longer patch remains, return with the same comb and make a controlled pass. Small corrections work well when enough length is left. Afterward, brush loose hair from the blade and comb, check for damage, and store the clipper according to the manufacturer's instructions so the Hair Cutting Clipper is ready for the next session.
Recommended Products

No.377. Fourth Avenue, Binhai Park, Economic-Technological Development Zone, Wenzhou, Zhejiang, China.

+86-577-88912812

+86-577-88912822

anda1@andaelectric.com
anda6@andaelectric.com
anda7@andaelectric.com
Copyright © Zhejiang Anda Electric Co., Ltd. Rights Reserved.
Electric Hair Clipper Manufacturer



 English
 Español
 русский